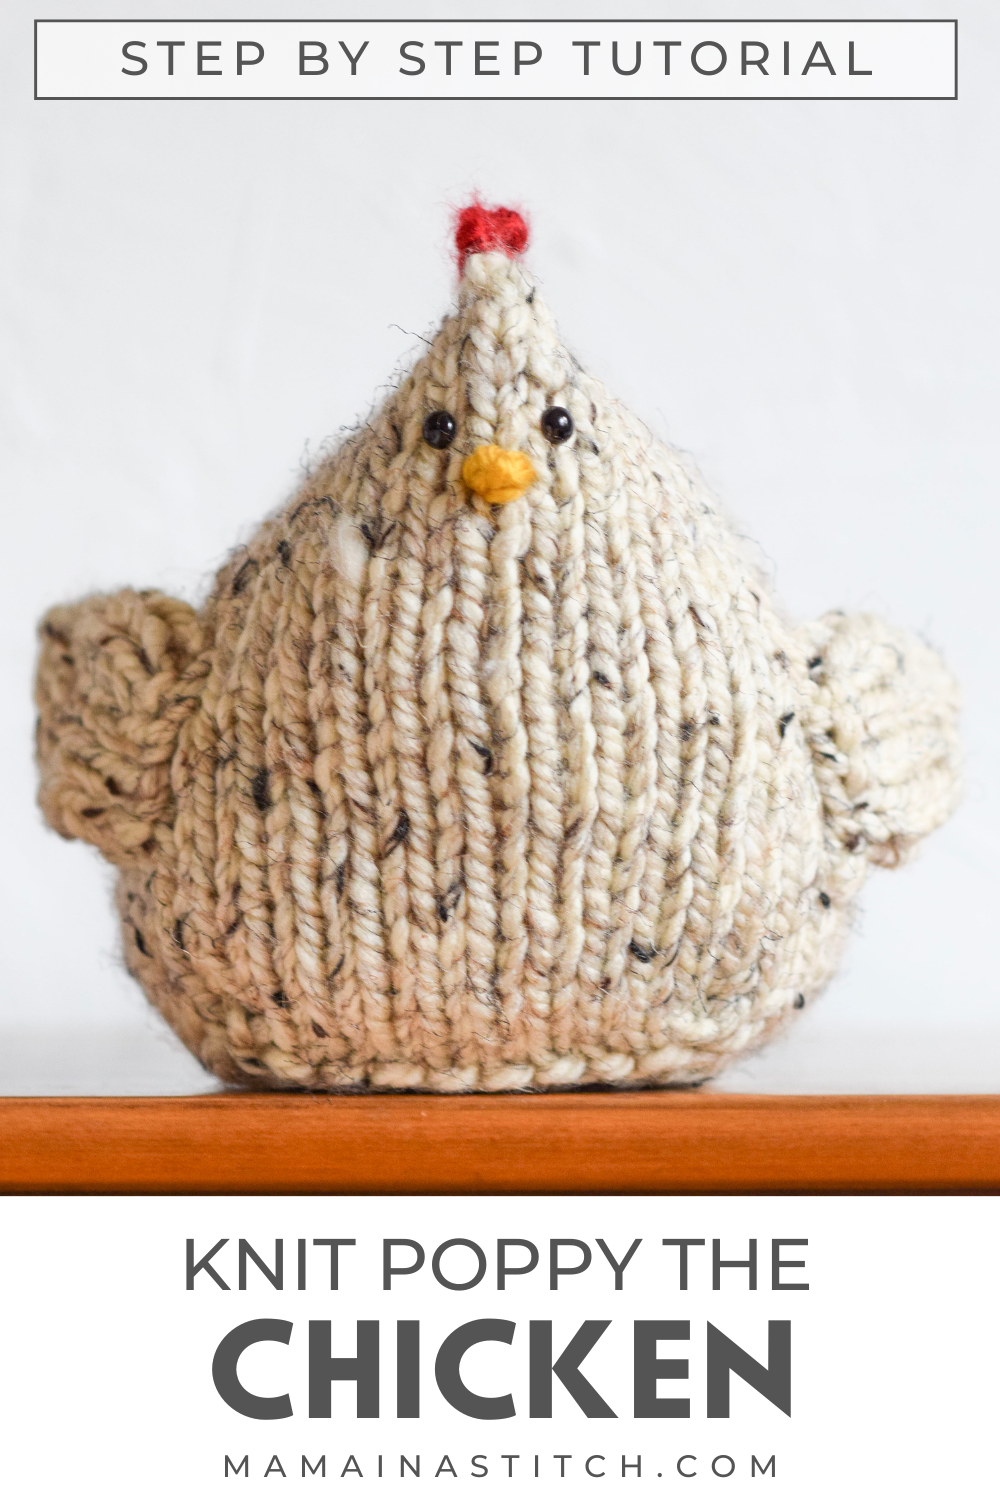
Poppy Chicken Knitting Pattern
I am so excited to share this adorable, easy, chicken knitting pattern with you today!
You’ll see the free pattern and tutorial below, or you may find the ad-free, printable version which includes the helpful photos, for purchase in my Etsy shop HERE.
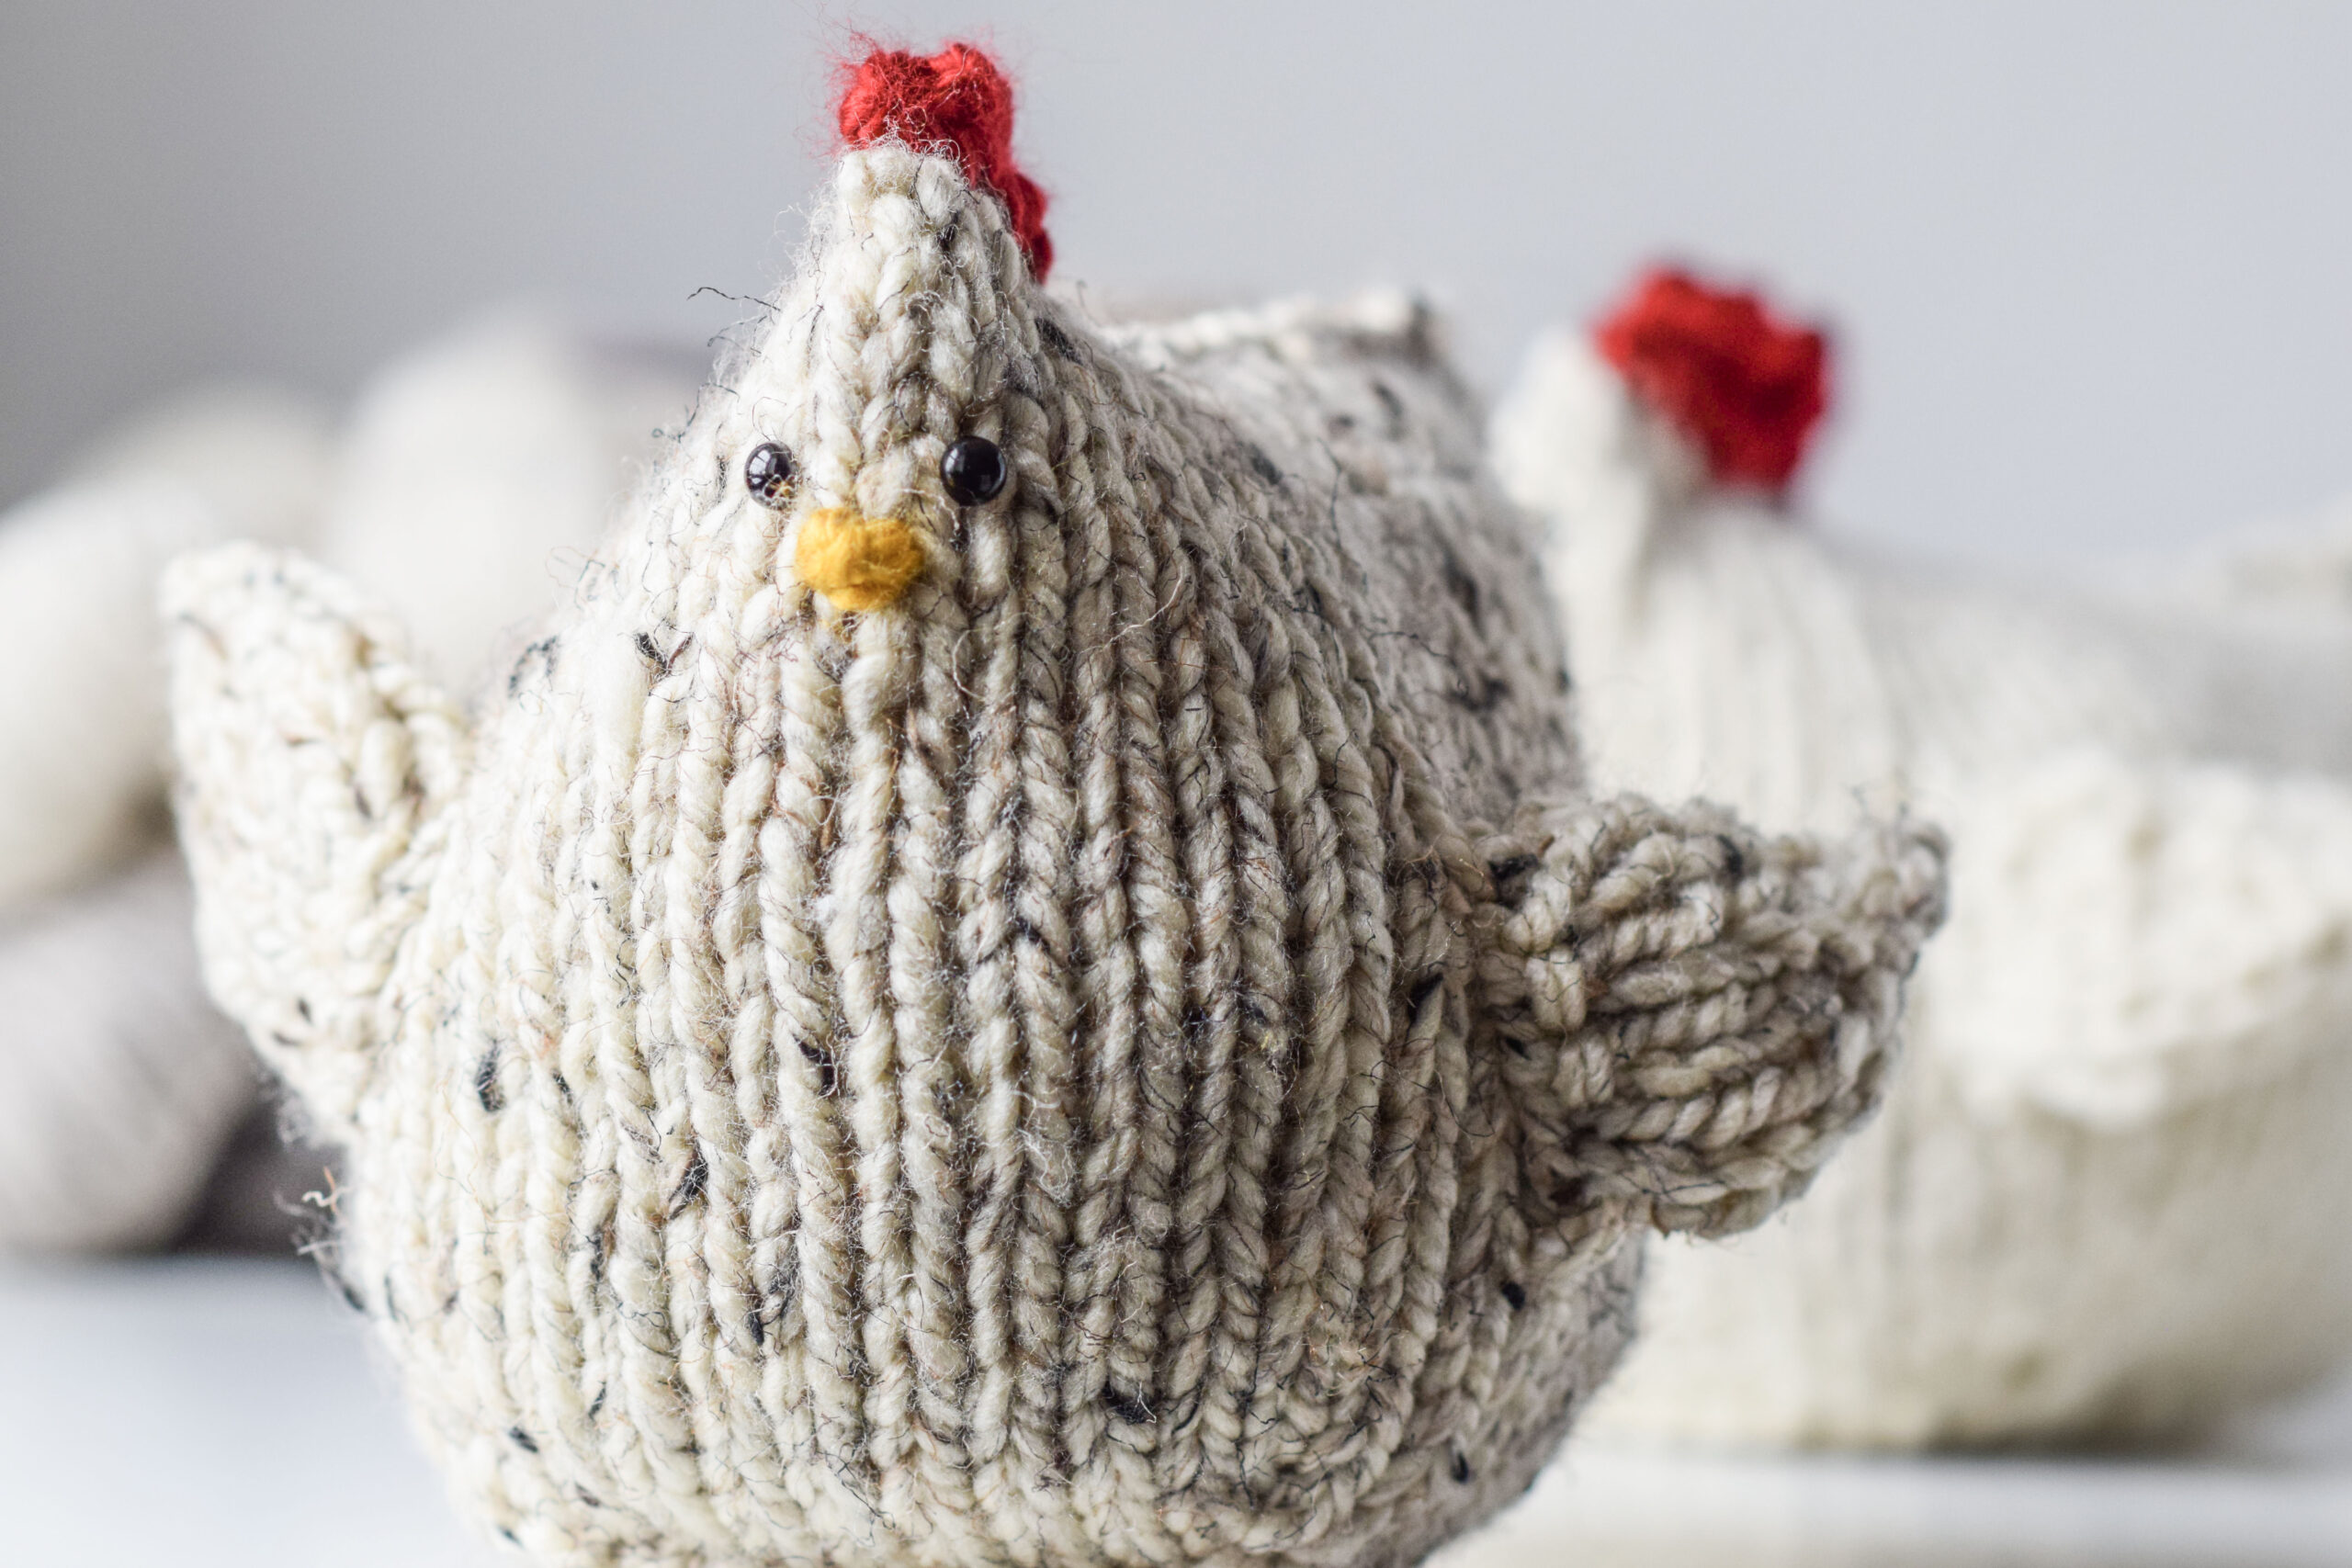
There seems to be so many cute crochet chicken patterns out there, so I thought it would be fun to come up with a simple knit chicken! I love that “Poppy” the hen turned out to be beginner friendly as well as chunky, cute, AND addicting to make.
Honestly, it would be super fun to make a “Poppy” flock. So far, I’ve made two and I plan to knit a few more. Even my daughter wants one!
This lil’ hen turned out super cute for being so simple. Poppy could adorn shelving in your home or be cuddled by your little ones. Maybe even figure out how to weigh her down enough to be a door stop, right? It would be SO FUN to make her striped, or add some fluff to her back “tail”. You can be creative with this pattern – I can’t wait to see what you do with her!

Knit Techniques for This Easy Chicken Knitting Pattern
This is actually my first knit toy design, so I wanted it to to be easy for you AND me! You will only need to know super basic stitches like how to knit HERE and how to purl. You’ll also knit in the round on circular needles, which is very easy. And technically, it could be knit flat in rows and seamed, but just do it in the round. So simple!
You’ll also need to know how to cast off as well as how to do a whip stitch seam.
There’s also a picture tutorial below to show you how her body comes together!
What’s The Best Yarn For A Knit Chicken?
I chose to go with a super bulky #6 yarn for this pattern because it’s not only cute, it works up quickly too. You can use any super bulky yarn that you like! The Lion Brand Wool Ease Thick & Quick is a wool blend, which gives it a rustic, soft look. There are also SO many color options that I love. You can also find acrylic options out there like Hometown USA! If you’re making it for a kiddo, consider using one of the soft blanket type yarns.
Okay, let’s get to this adorable pattern! Definitely check out the step-by-step picture tutorial below. You’ll see the free pattern when you scroll all the way down. 🙂
You can also find the printable, ad-free version of Poppy The Chicken Knitting Pattern, which includes the helpful photos for purchase in my Etsy shop HERE.
Step-By-Step Picture Tutorial Knit Chicken Body
Check out how simple it is to knit the body.


Now you will simply add the crest, wings, and safety eyes! Remember that you can use yarn for the eyes as well. Make Poppy the hen your own!

Poppy Chicken Knitting Pattern
Description:
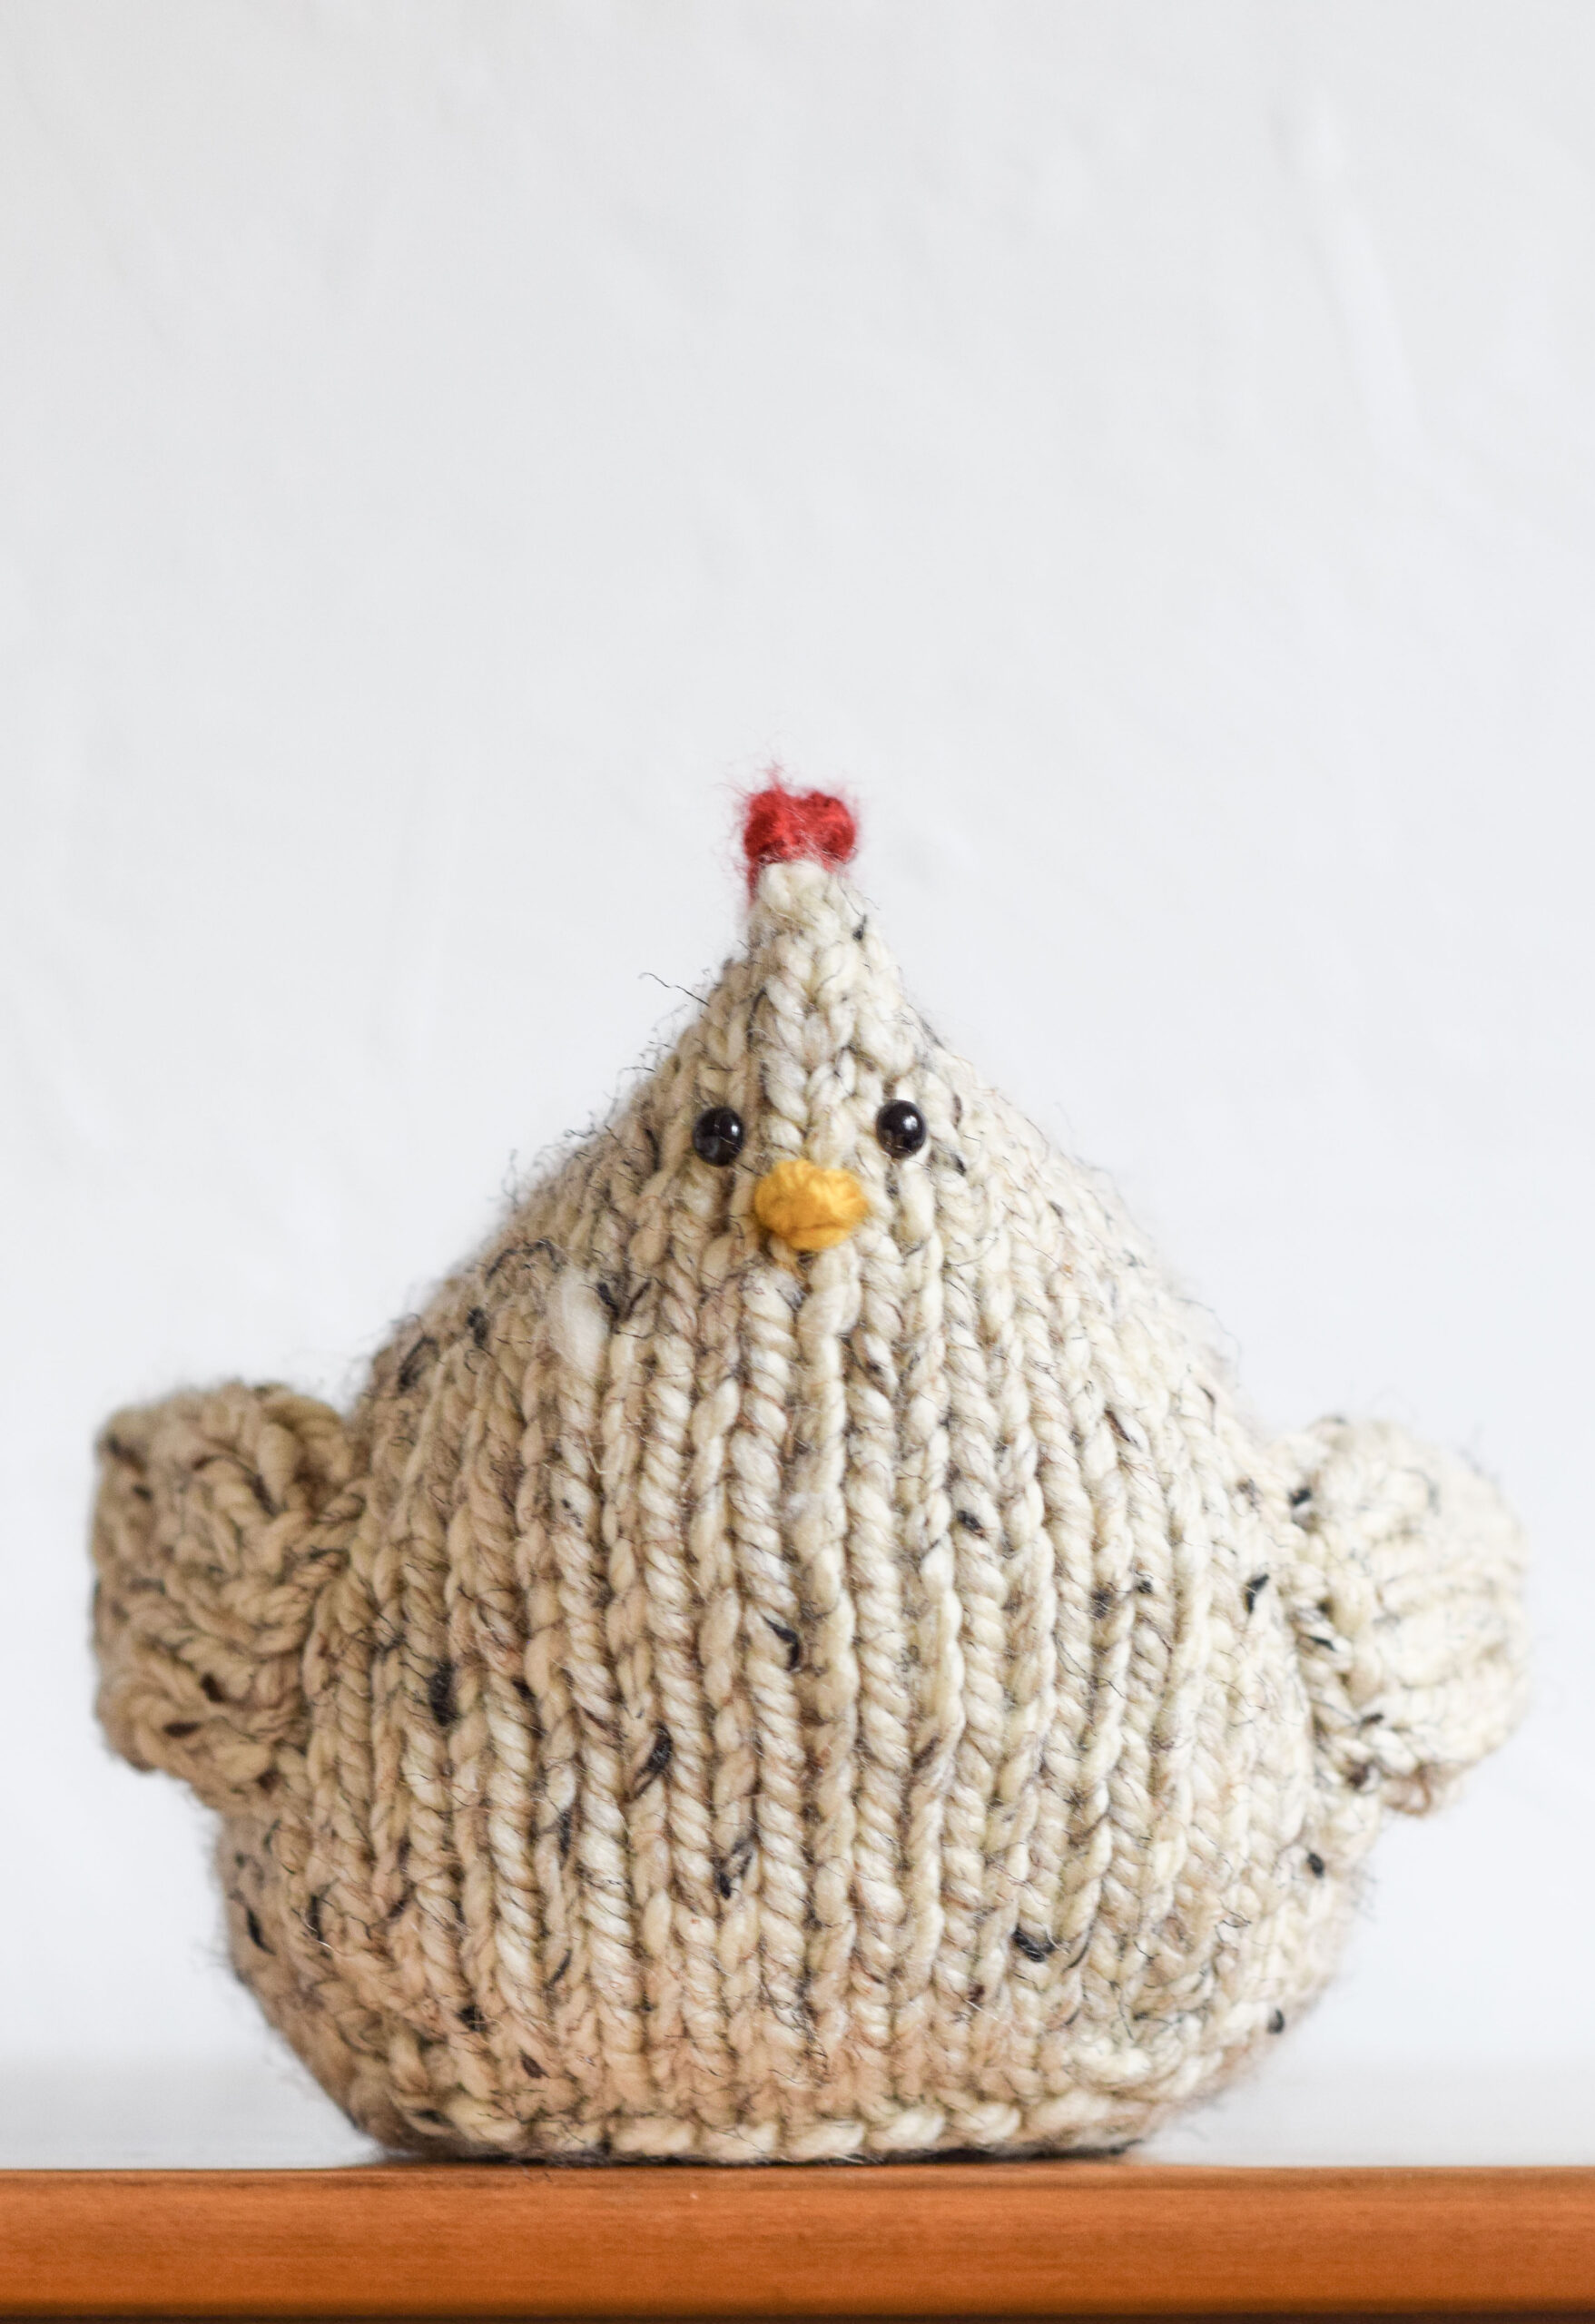
Adorable Poppy the hen is ready to sit pretty in your house or be cuddled by your favorite little one! Add a touch of farm whimsy to any space and make her in any colors you like. This super easy pattern works up quickly and is simple enough for new knitters. Photos are also included to help you along. Pick your favorite yarn shade and go! If you’re careful with your yarn usage, you can get two chickens out of one skein of Lion Brand Wool Ease Thick & Quick (plus the yarn for the crest and beak).
Materials:
1 skein Lion Brand Yarn Wool Ease Thick & Quick super bulky yarn in Oatmeal or preferred
color for the body 170 g/skein & 106 yds/skein Pattern uses 85 g
1 skein Lion Brand Yarn Hometown USA super bulky #6 yarn in Tampa Spice (red)
1 skein Lion Brand Yarn Hometown USA super bulky #6 yarn in Madison Mustard (yellow)
US Size 15 10.0mm, 16” inch circular knitting needles
Small black safety eyes or black yarn for eyes (if being used by children)
Fiber fill for stuffing (5-10 oz)
Scissors
Tapestry needle to seam and weave in ends
Measuring Tape
Finished Size (approximate):
6.5” wide x 8.5” long x 8” tall at crest
Gauge:
Not important for this pattern
Pattern Notes:
You will begin by knitting a flat square base for your chicken in garter stitch. Next, you’ll pick up stitches evenly around the base to knit the chicken in the round. You’ll simply knit until the specified height. The stuffing, beak, eyes and wings are then added. The chicken is closed up on the top with a simple whip stitch seam. There is no shaping in the pattern except for the wings (which are optional!). While this chicken has safety eyes, you may also use black yarn to create eyes. If Poppy will be around little ones or small children, black yarn secured tightly should be used for safety reasons. See the photos for additional assistance.
Have fun!
Abbreviations (US) & Skills:
The chicken body section is knit in the round.
You should know how to pick up stitches. (tutorials can be found online with a simple search)
k – knit
p – purl
st – stitch
sts – stitches
K2tog – knit two stitches together (decrease)
P2tog – purl two stitches together (decrease)
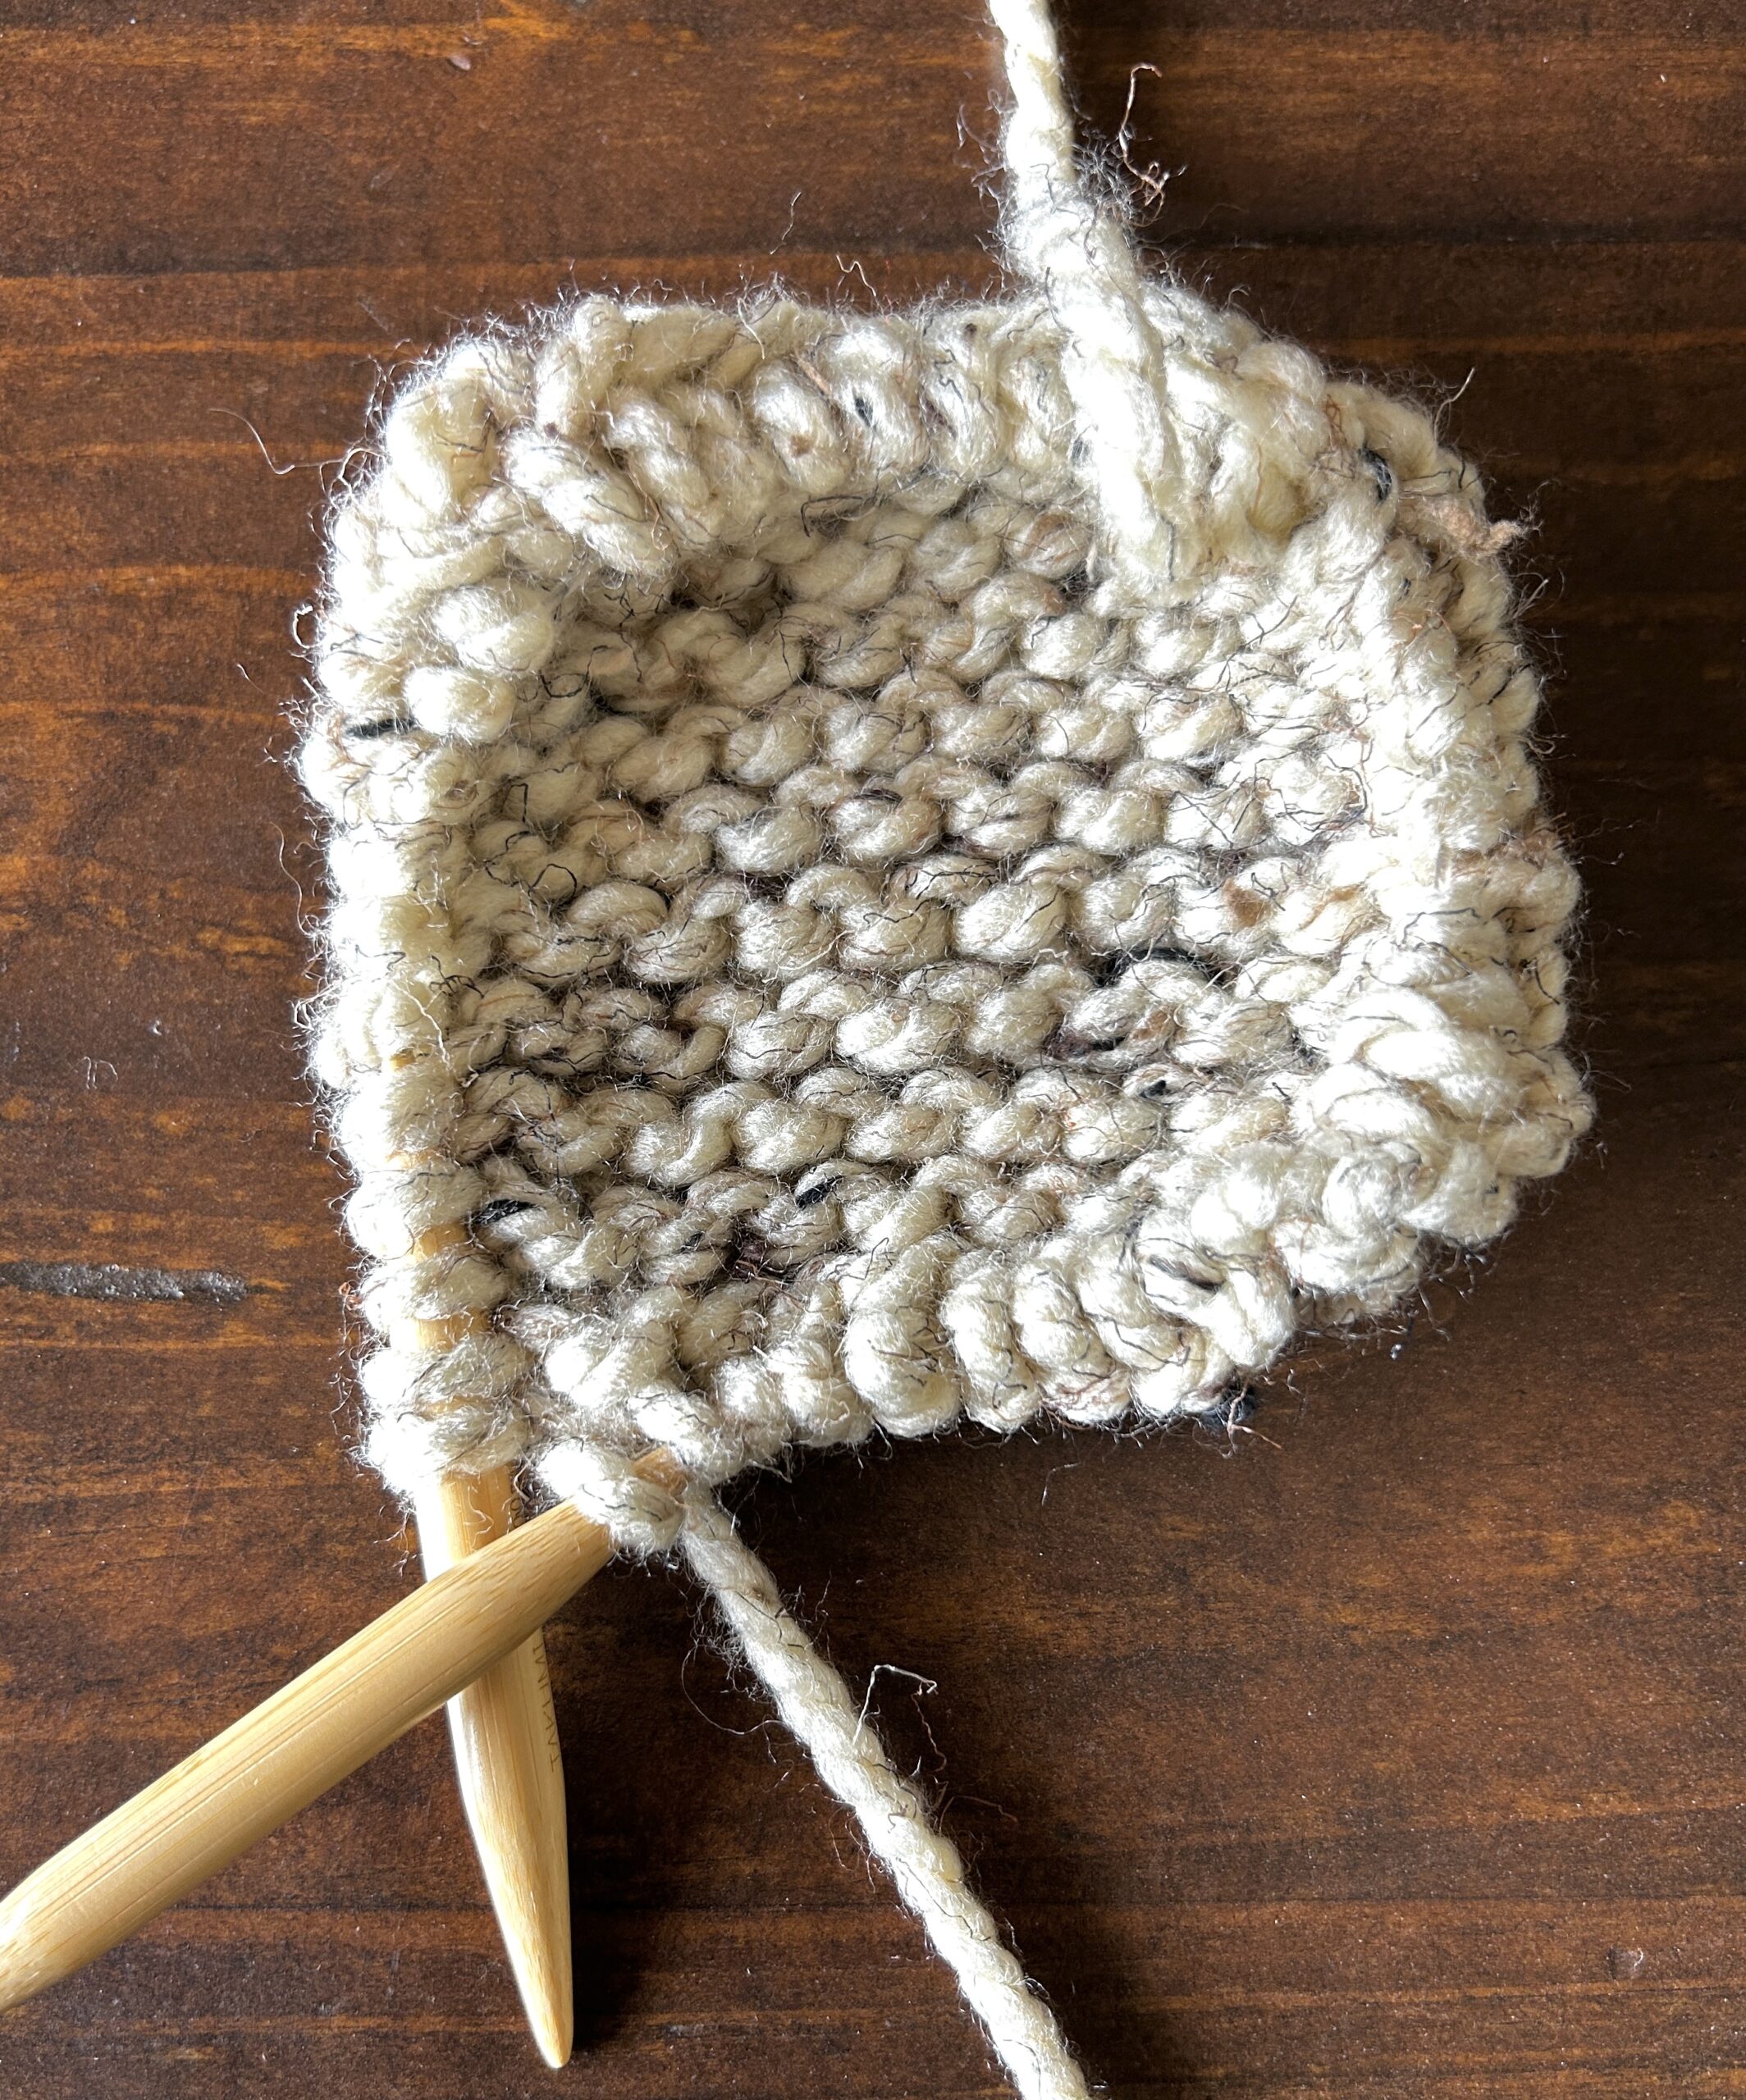
Square Base of Chicken
Cast on 10 sts
Row 1 Knit each st across the row.
Rows 2 – 21 Repeat row 1, working knit stitches across each row.
Do not cast off. You should have 10 stitches on your needles. Next, work the Chicken Body
Section.
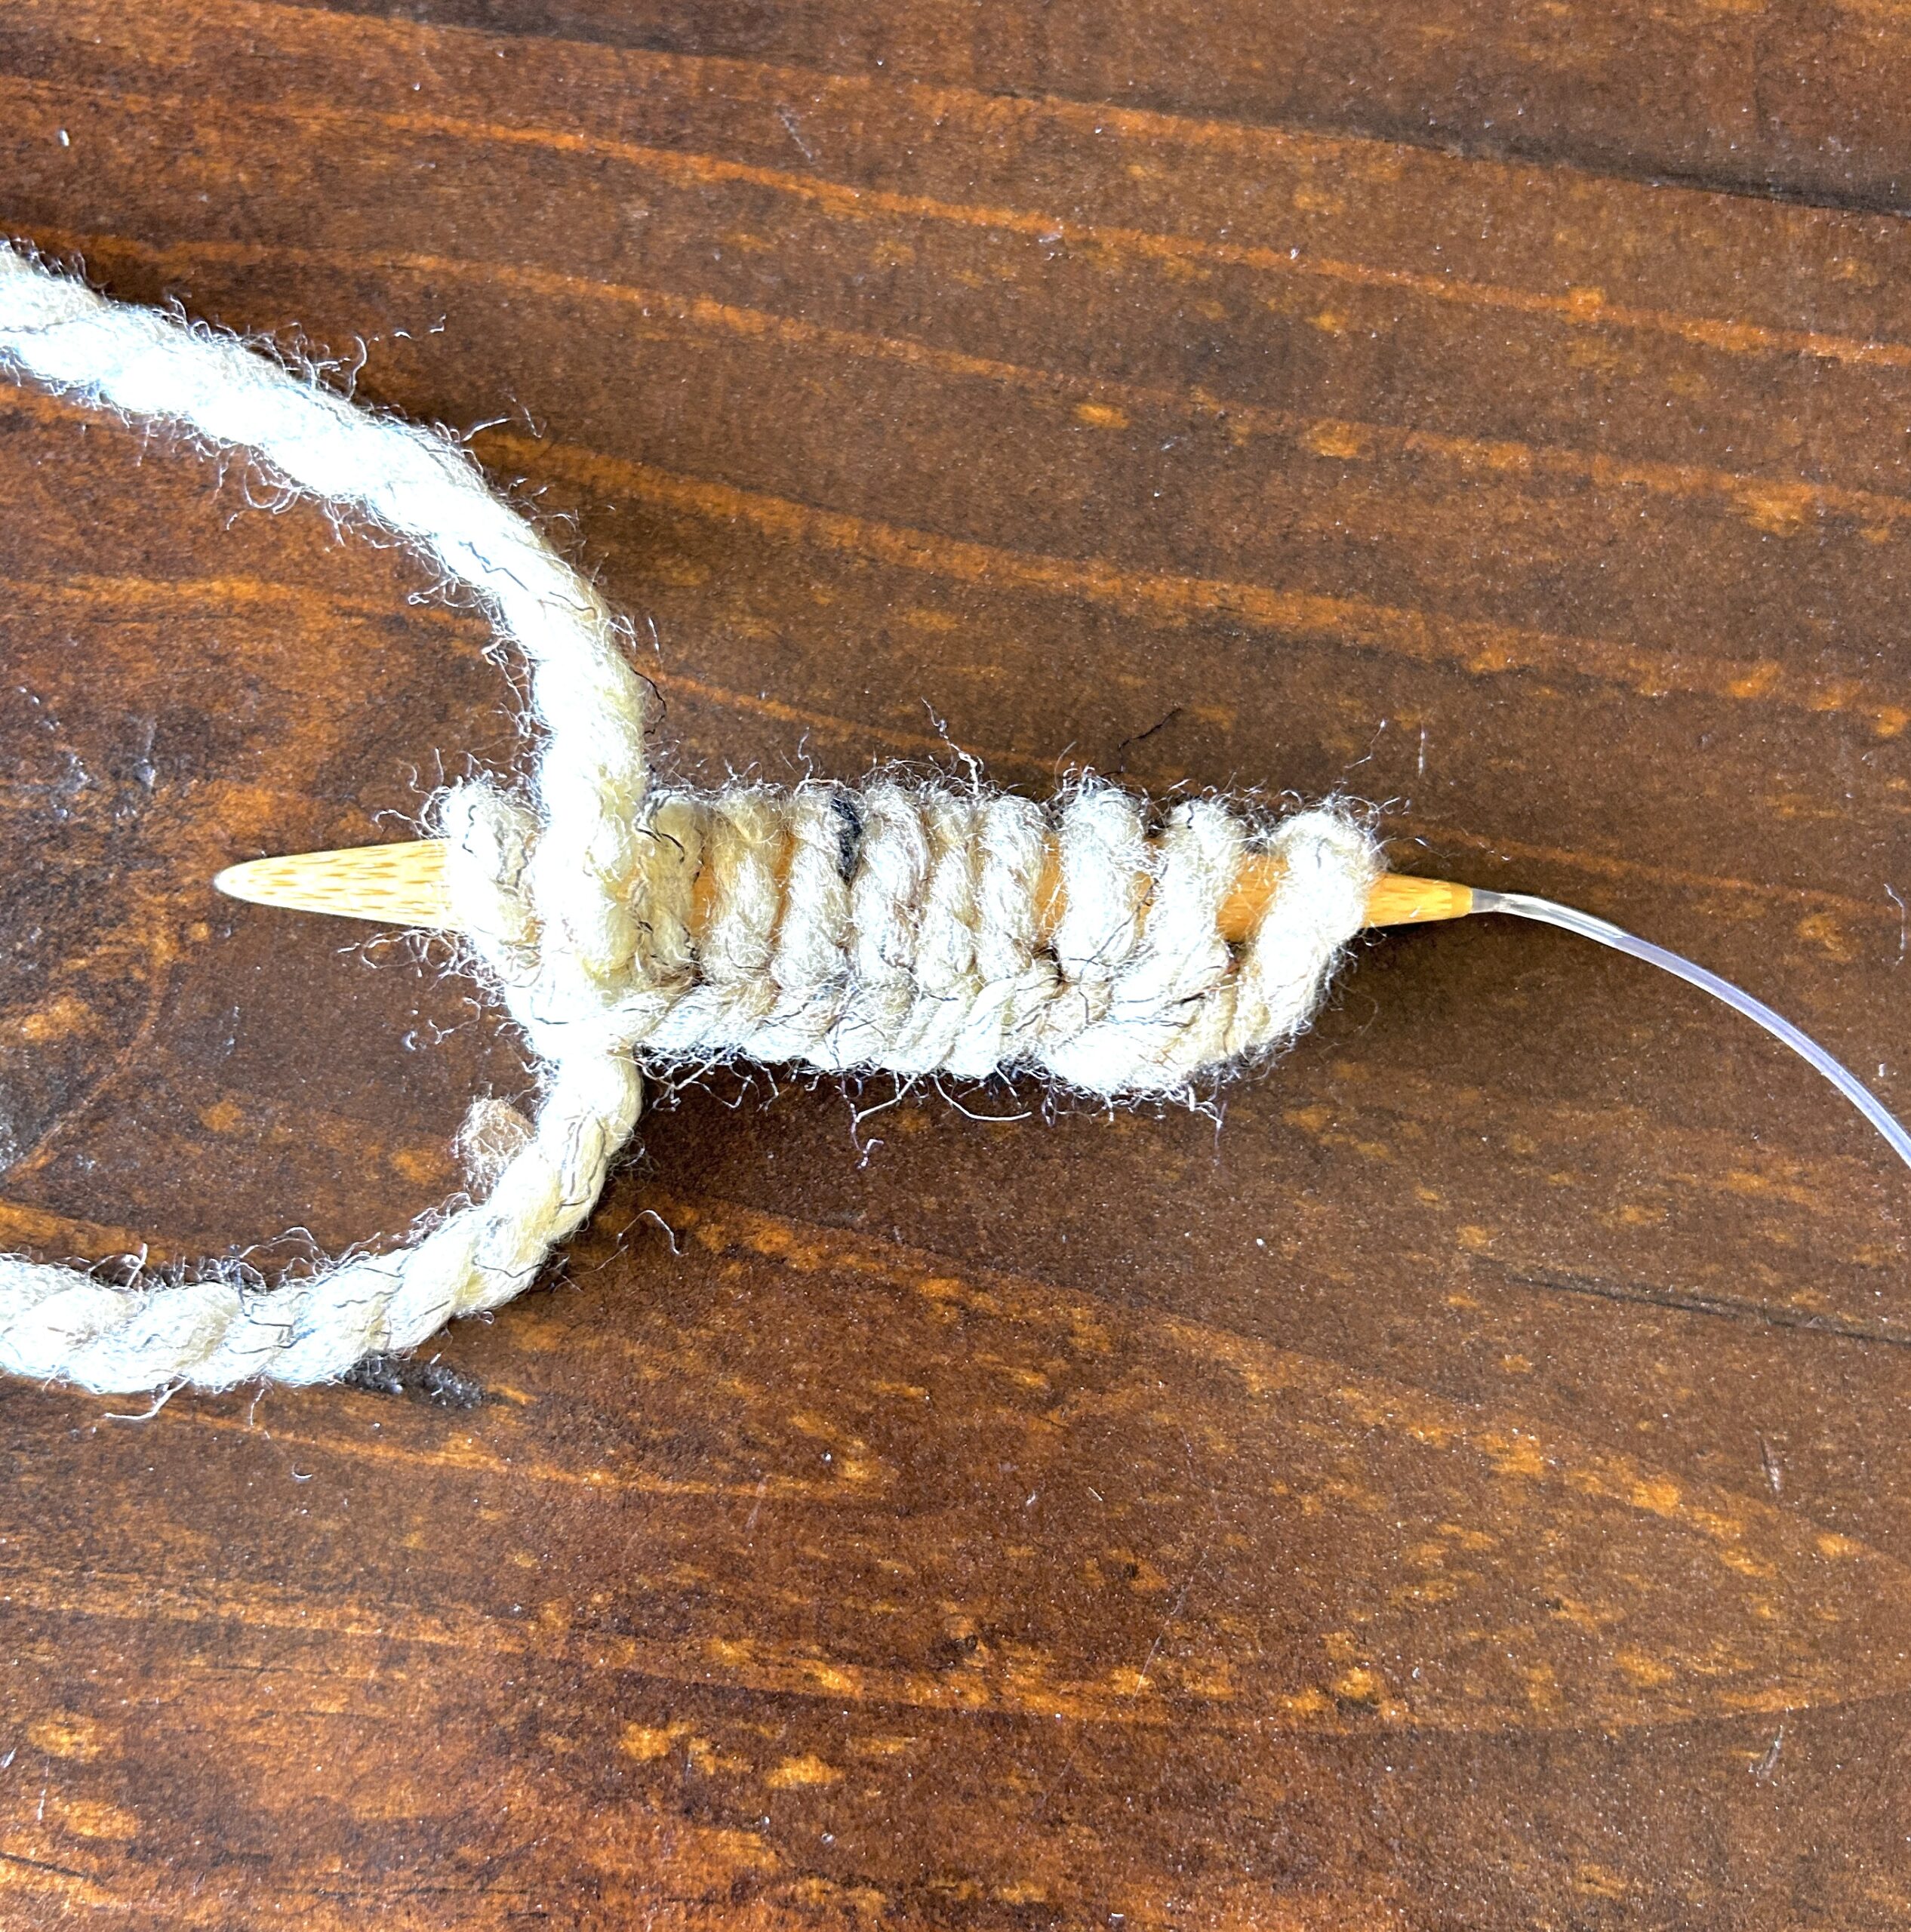
Chicken Body Section
You’ll now pick up stitches on each side of your square base. Pick up one stitch between each “ridge” of garter stitches, for a total of 10 stitches on each side. This will equal a total of 40 stitches around. (see photo)
Next, knit in the round. Mark your first round if needed with a stitch marker.
Round 1 Knit each st around.
Repeat Round 1, knitting until entire piece measures approximately 9” inches from top to bottom
when laid flat.
Cast off with a knit cast off.
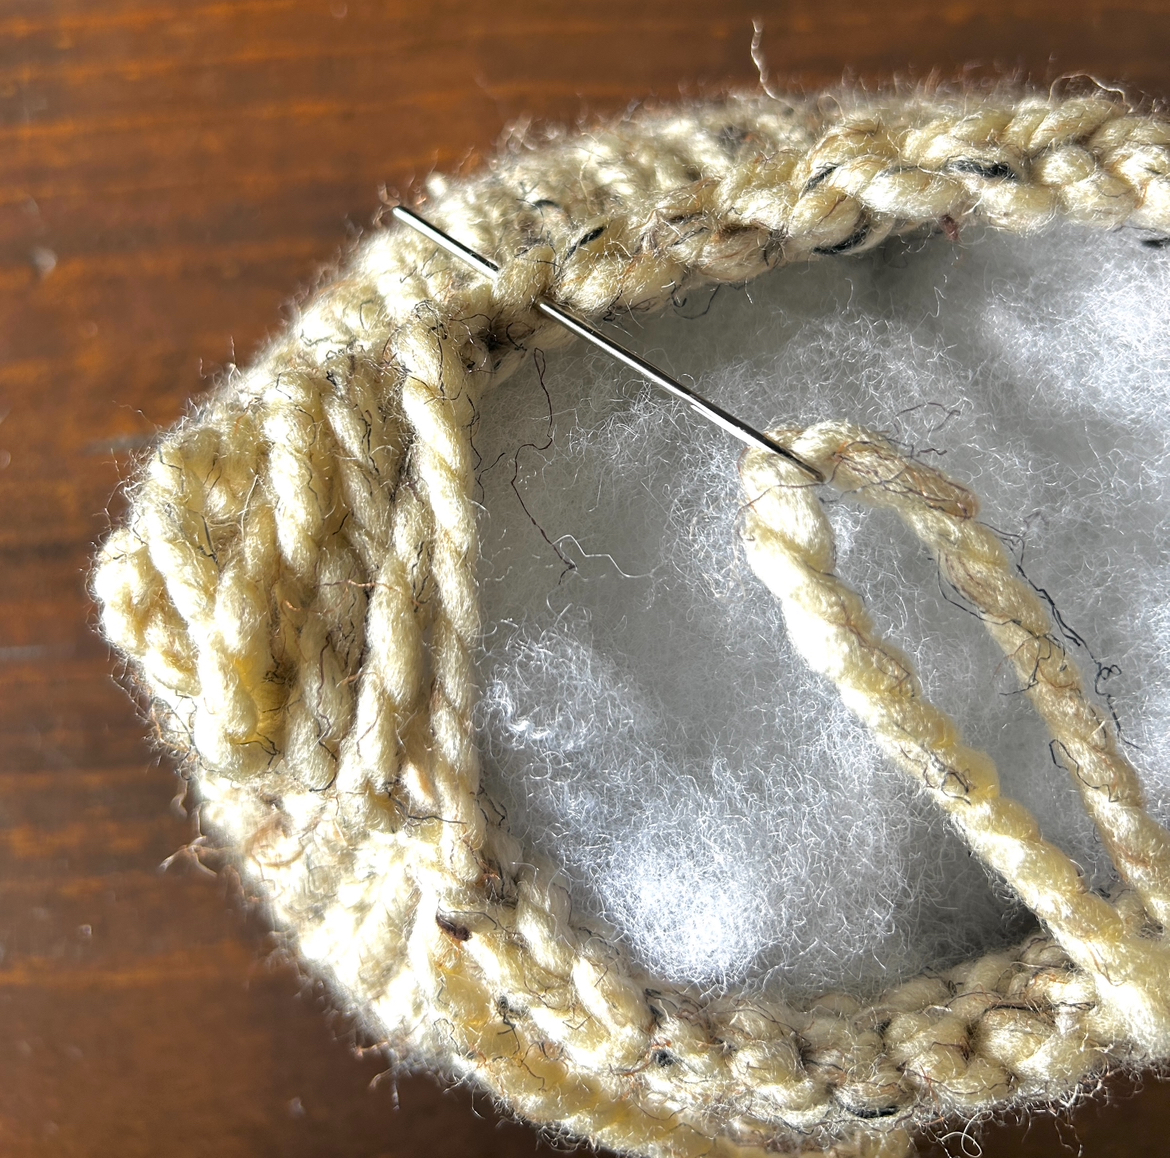
Stuff Your Chicken
Here’s the fun part!
Next, fill your chicken evenly with stuffing ensuring that the shaping looks good. Your fat chicken shouldn’t look lumpy!
Seam
With a length of yarn and your tapestry needle, close the opening at the top of the chicken. Sew with whip stitch seam from back to front working through one “leg” of each stitch on either side. Seam until there is approximately 2 inches left where the head will go. Don’t finish seaming until you’ve added the beak and eyes.
Beak
Locate the center front of the chicken where the face will go when folded and seamed. Count 5 stitches down from the top. This is the stitch where you will create a knot for the beak. With your tapestry needle and a length of yellow yarn, work yarn from front to back of stitch. Tie a knot. Next, work each end of yellow yarn back into the fabric. (see photo)
Eyes
Feel free to customize the eyes to your liking! You may choose any size, shape, or color. You may also use yarn rather than toy eyes. If your chicken is decorative, you have more flexibility with the eyes. If children will be playing with the chicken, black yarn should be used as the stitches are large and the safety eyes may come loose from the fabric. Place eyes just above, and to the side of the beak.
You may add wings here (see Wing Section), or you may add them once the chicken is
seamed to better see the final shaping.
Crest
With your red yarn, cast on 3 stitches.
Row 1 Knit each st across the row.
Row 2 Purl each st across the row.
Rows 3-4 Repeat rows, 1 and 2, in that order knitting stockinette.
Knit cast off and weave in ends.
With a length of red yarn and your tapestry needle, whip stitch the crest to the top of the
chicken’s head seaming it lengthwise. Pull ends of yarn into the chicken body to finish.
Wings (optional)
Wing 1
Cast on 6 sts
Row 1 Knit each st across the row.
Row 2 Knit each st across the row.
Row 3 Purl each st across the row.
Row 4 Knit each st across the row.
Row 5 Purl each st across the row.
Row 6 Knit each st across the row.
Row 7 P2tog, p2tog, purl to end.
Row 8 Knit across to last 2 sts, k2tog.
Row 9 P2tog, purl last st.
Row 10 K2tog
Cast off/tie off.
Wing 2
Cast on 6 sts
Row 1 Knit each st across the row.
Row 2 Knit each st across the row.
Row 3 Purl each st across the row.
Row 4 Knit each st across the row.
Row 5 Purl each st across the row.
Row 6 Knit each st across the row.
Row 7 Purl across to last 4 sts, p2tog, p2tog.
Row 8 K2tog, knit to end.
Row 9 P, p2tog.
Row 10 K2tog
Cast off/tie off.
Seam Wings To Chicken
With a measuring tape, measure 3” inches across from center front of bird and approximately 3.5” inches down from top of bird. This is where the top of the wing will be attached. Place stitch marker as needed to mark placement of wings. Seam the cast on edge vertically to the chicken. The shaped edge which had the decreases will be at the lower edge of the wing, running
horizontally along the body. Whip stitch seam along the front cast on edge of the wing only.
If you’d like the wings to lay flatter against the body, you may stitch them back as well.
Check out the photos that shows the side of Poppy for a better
view of the wing placement.
That’s it!
Isn’t Poppy kind of addicting?! I hope you love her!
More Free Knitting Patterns:
- Quick & Easy Knit Blankets
- Billowy Quilted Throw Blanket Knitting Pattern
- Comfiest Cardigan Knitting Pattern
- Easy Knit Hat Patterns
- Free Knitting Patterns by Mama In A Stitch see ’em all!
I hope you really had fun with this new chicken! It was so relaxing for me to do something different than the usual blankets and sweaters (which are great, but it’s nice to have change!) Maybe there will be a few more knit toys in the future!
XO,
Jessica